Strawberry Patch: A Middle-Aged Homesteader’s Guide to Planting

So you’re finally taking the plunge into the world of homesteading! Like many middle-aged folks, I found myself drawn to the simplicity and satisfaction of growing my own food. And what better place to start than with a patch of sweet, juicy strawberries? It’s a project that can be managed in manageable chunks, even with a busy schedule, and the rewards are abundant.
Choosing the Right Time
Timing is key when it comes to planting strawberries. Ideally, you want to get them in the ground in the **early spring or late summer/early fall.** For a spring planting, aim for after the last frost, when the soil has warmed up a bit. For a fall planting, you want enough time for the plants to establish roots before winter sets in.
I opted for a fall planting, which allowed the plants to settle in and start developing their root system. This gave them a head start for the following spring’s berry production.
Preparing the Strawberry Bed: A Labor of Love
The success of your strawberry patch hinges on a well-prepared bed. Here’s what I learned:
1. Choosing the Right Spot: Sunshine and Drainage
Strawberries thrive in full sun, so choose a spot that receives at least 6 hours of direct sunlight each day. You also need to ensure good drainage, as soggy soil can lead to root rot. If your soil is prone to standing water, consider raised beds or a slope.
2. Soil Preparation: A Rich, Well-Drained Haven
Strawberries love loose, fertile soil. I amended my soil with plenty of compost, which provided essential nutrients and improved drainage. You can also incorporate aged manure, but avoid using fresh manure, as it can burn the plants.
For a deeper understanding of your soil’s needs, consider having it tested by a local agricultural extension office.
3. Mulch: A Protective Layer
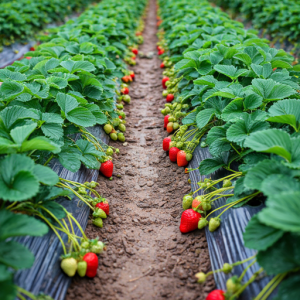
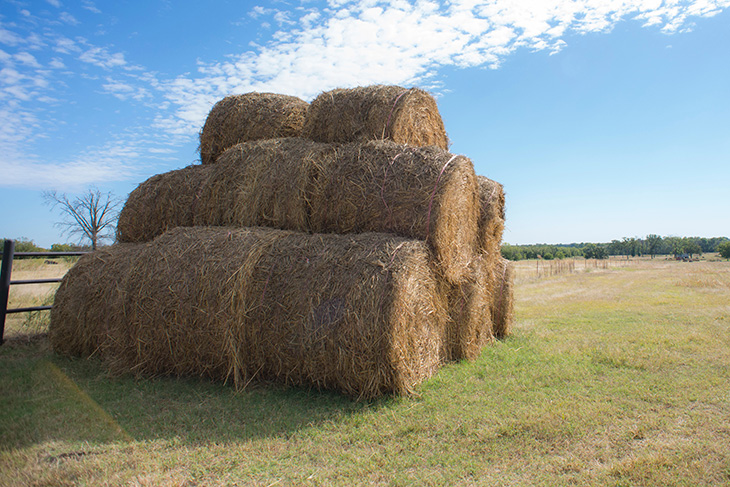
Once the bed is ready, I added a 2-3 inch layer of organic mulch, such as straw, shredded bark, or wood chips. This helped to suppress weeds, conserve moisture, and prevent fruit from touching the soil and becoming contaminated.
Planting Strawberries: From Bare Roots to Berry Paradise
I chose to plant bare-root strawberry plants, as they’re generally more affordable and provide a wider selection of varieties. Here’s how I did it:
1. Spacing Matters
For a standard strawberry bed, I planted my strawberries 12-18 inches apart, leaving a few feet between each row. This spacing allowed for good airflow and helped to prevent the spread of diseases.
2. Planting Depth
When planting, I made sure to position the crown of the plant (where the roots meet the stem) just above the soil line. Burying the crown too deep can cause it to rot.
3. Water Wisely
After planting, I watered the plants thoroughly. Consistent watering is crucial, especially during the first few weeks, to help them establish a strong root system.
Ongoing Care for a Bountiful Harvest
Once the strawberries are planted, it’s important to stay on top of their care to ensure a healthy and productive patch.
1. Regular Watering
Strawberries require consistent moisture, especially during dry periods. Water deeply and thoroughly, allowing the soil to dry slightly between waterings. Avoid overhead watering, which can lead to disease problems.
2. Fertilizing: Nourishment for Growth
I fertilized my strawberries in early spring with a balanced organic fertilizer. You can also side-dress the plants with compost or manure as needed. Remember, excessive fertilizer can burn the roots, so stick to the recommended application rates.
3. Weed Control: Keeping the Competition at Bay
Weeding is an essential part of strawberry care. Pull weeds as soon as they appear, to prevent them from competing with your strawberry plants for nutrients and water.
4. Mulching: Protection and Moisture
I replenished the mulch layer around my plants throughout the growing season, adding more as needed. This kept weeds at bay, prevented soil compaction, and helped to retain moisture.
5. Pest and Disease Control
Keep a watchful eye out for common strawberry pests and diseases. If you spot any problems, address them promptly with organic control methods, such as insecticidal soap, neem oil, or a preventative fungicide. A healthy strawberry patch starts with healthy plants.
Harvest Time: The Sweet Reward
The first harvest will likely be a year after planting, with subsequent years producing a bountiful crop. Pick the strawberries when they’re ripe and red, and enjoy the fruits of your labor! I find that storing my strawberries in the refrigerator for a few days helps them to ripen further and develop even more sweetness.
Beyond the First Harvest
Strawberry plants are productive for several years. However, they eventually decline in vigor, requiring rejuvenation. This can be done by dividing and replanting the plants. I typically divide and replant my strawberry plants every three to five years, ensuring a continuous supply of delicious berries.
Starting a strawberry patch might seem like a daunting task, but it’s well worth the effort. The satisfaction of harvesting your own fresh strawberries, knowing they’re grown with love and care, is an experience like no other. So, grab your gardening gloves, gather your supplies, and get ready to embark on your own strawberry growing journey!


